Keeping track of your blood pressure at home is one of the best things you can do for your heart health. If your doctor has asked you to monitor your numbers, or if you just want to stay on top of your health, don’t worry – it’s easier than you might think! Let’s walk through everything you need to know. 💙
Why Home Monitoring Matters
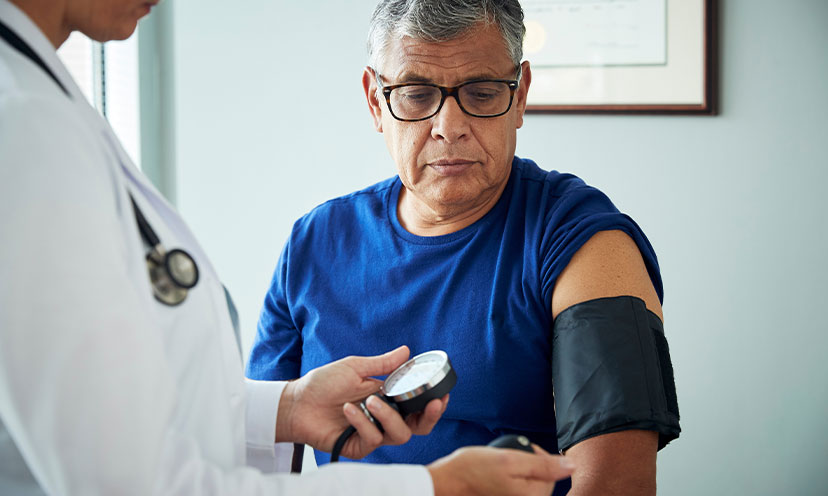
“White coat syndrome” is real! Many of us get nervous at the doctor’s office, which can make our blood pressure read higher than it actually is. Home monitoring gives you a more accurate picture of your everyday numbers.
Plus, regular monitoring helps you and your doctor:
- Track how well your medications are working
- Spot patterns throughout the day
- Catch problems early before they become serious
- Give you more control over your health 💪
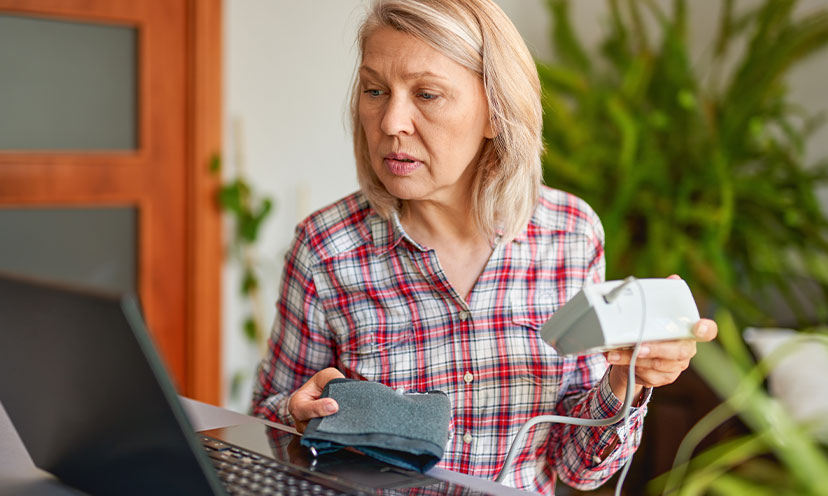
Choosing the Right Blood Pressure Monitor
Go for an automatic upper arm cuff – they’re the most accurate and easiest to use. Wrist monitors can be less reliable, and manual pumps require coordination that can be tricky.
Look for these features:
- Large, easy-to-read display
- One-button operation
- Memory to store multiple readings
- Irregular heartbeat detector
- Proper cuff size for your arm
Popular brands include Omron, Welch Allyn, and LifeSource. Expect to spend $40-$80 for a quality monitor. Some insurance plans, including Medicare, may cover the cost with a doctor’s prescription! 🏥
Getting Accurate Readings: The 5-Minute Rule
Preparation is key! Here’s what to do before taking your reading:
- Avoid caffeine, exercise, and smoking for 30 minutes before measuring
- Use the bathroom first – a full bladder can raise your numbers
- Sit quietly for 5 minutes before taking your reading
- Don’t talk during the measurement
- Take your reading at the same time each day (morning and evening work well)
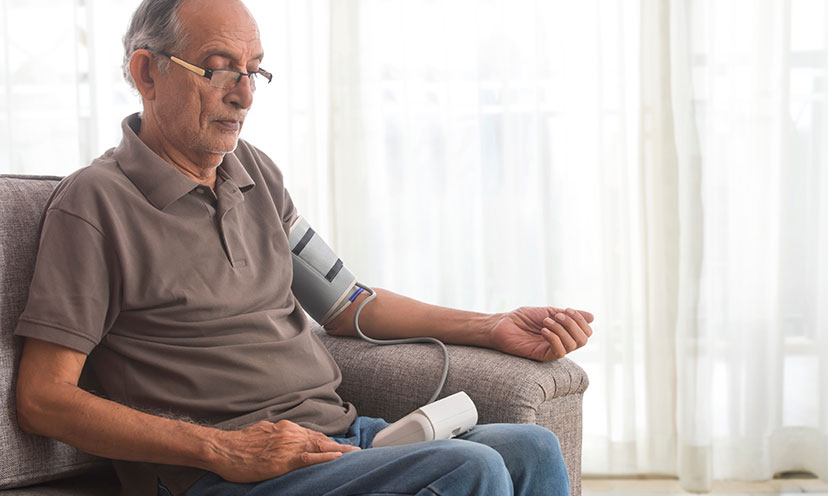
Step-by-Step: Taking Your Blood Pressure
Step 1: Get comfortable 🪑
Sit in a chair with your back supported and feet flat on the floor. Don’t cross your legs!
Step 2: Position your arm correctly
Rest your arm on a table at heart level. Your palm should face up, and your arm should be relaxed – not tense.
Step 3: Apply the cuff properly
Slide the cuff onto your bare upper arm (push up your sleeve – don’t measure over clothing). The bottom of the cuff should sit about one inch above your elbow bend. Make sure it’s snug but not tight – you should be able to slip two fingers underneath.
Step 4: Press the button and relax ⏸️
Hit start and stay still and quiet. Don’t talk! The cuff will inflate and deflate automatically. This takes about 30-60 seconds.
Step 5: Record your numbers
Write down both numbers and the date/time. The top number (systolic) shows pressure when your heart beats. The bottom number (diastolic) shows pressure between beats.
Important: Take two or three readings, one minute apart, and record the average. This gives you the most accurate result.
Understanding Your Numbers
Normal blood pressure: Less than 120/80
Elevated: 120-129/less than 80
High (Stage 1): 130-139/80-89
High (Stage 2): 140 or higher/90 or higher
Crisis: Higher than 180/120 (call 911!) 🚨
Remember, one high reading doesn’t mean you have high blood pressure. It’s the pattern over time that matters. Never adjust your medications on your own – always talk to your doctor first!
Common Mistakes to Avoid
Don’t take readings right after:
- Waking up (wait at least 30 minutes)
- Eating a meal
- Taking your blood pressure medication
- Feeling stressed or upset
Don’t:
- Use a cuff that’s too small or too large for your arm
- Let the cuff sit over clothing
- Talk during the reading
- Hold your arm up unsupported
When to Call Your Doctor
Contact your healthcare provider if:
- Your readings are consistently above 130/80
- You see sudden changes in your usual numbers
- You experience symptoms like chest pain, severe headache, or vision changes
- Your readings vary wildly from one measurement to the next 📞
Keeping Good Records
Use a simple notebook or chart to track your readings. Write down:
- Date and time
- Both blood pressure numbers
- Your pulse (most monitors show this automatically)
- Any symptoms you’re experiencing
- What you were doing before the reading
Bring this log to all your doctor appointments. Many modern monitors can sync with smartphone apps too, if you’re comfortable with technology!
Bottom Line
Home blood pressure monitoring puts you in the driver’s seat of your health. With just a few minutes twice a day, you’re giving yourself and your doctor valuable information that could literally save your life. The routine becomes second nature quickly – just like brushing your teeth!
Remember: You’re doing this to stay healthy and active for many years to come. That’s something to feel good about! ❤️
Always consult with your healthcare provider about your specific blood pressure goals and monitoring schedule.